SAP Metadata extension is one of the most powerful features for enhancing UI behavior without modifying the core data model. Yet many developers either misunderstand it or underuse it.
This guide breaks down:
- What is metadata extensions in sap
- Why they are important
- How they differ from annotations
- How to create a metadata extension step‑by‑step
- Best practices
- Common pitfalls
- And how it all fits into a RAP application
What is SAP Metadata Extension in CDS views?
A Metadata Extension (MDE) is a dedicated file that stores UI annotations and configurations separately from your core CDS model.
- MDE extends a CDS entity with CDS annotations that are not specified in the DDL source code of the data definition.
- It is defined and transported in a separate piece of DDLX source code.
- CDS entity should have annotation Metadata.allowExtensions True to be able to use MDE
- There can be multiple MDE for one CDS entity.
- Each MDE is assigned to a layer such as Customer, Partner, Industry, Localization, Core .
Why Should You Use Metadata Extensions?
- Clean Separation of Concerns : Your CDS model defines structure, not UI. Your MDE defines behavior, not business logic.
- Team Productivity : Backend and Fiori developers can work simultaneously without stepping on each other’s changes.
- Upgrade‑friendly : SAP recommends metadata extensions for Fiori Elements, CAP, and OData V4 because it keeps the model stable.
- Reusability : Annotations can be grouped & reused across multiple apps or services.
- Readability : MDEs improves readability as UI and behavior are not longer mixed up.
- Transport : MDEs are transported independently.
- Dependency : Avoids mass activation of dependent repository objects.
- Flexibility : Layers and CDS variants allow frameworks, partners and customers to override the metadata of a CDS entity without making modifications.
How to create a metadata extension step‑by‑step
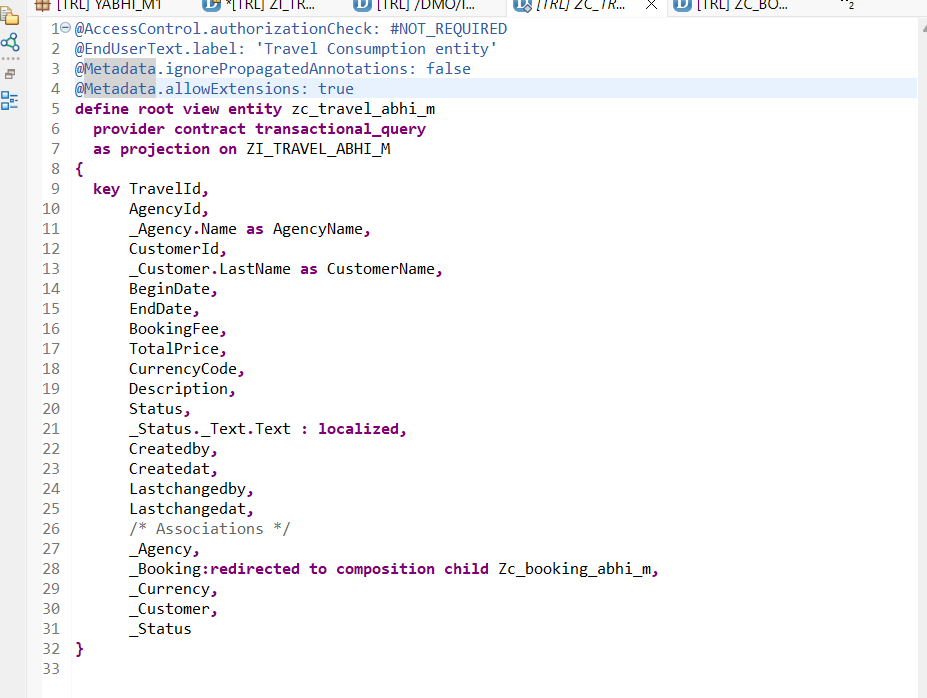
Continuing from where we left off in our previous blog where we have created projection views for our travel application.
To create a MDE for our root projection view we will first need to use Metadata.allowExtensions True
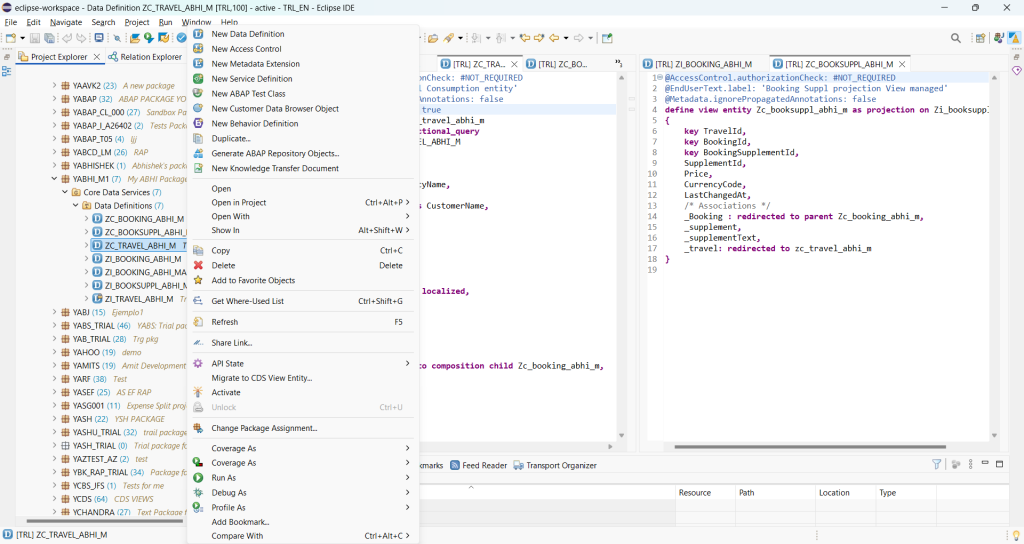
Now let us create our MDE for this view. Right click on the view on which we want to create MDE and select New Metadata Extension.
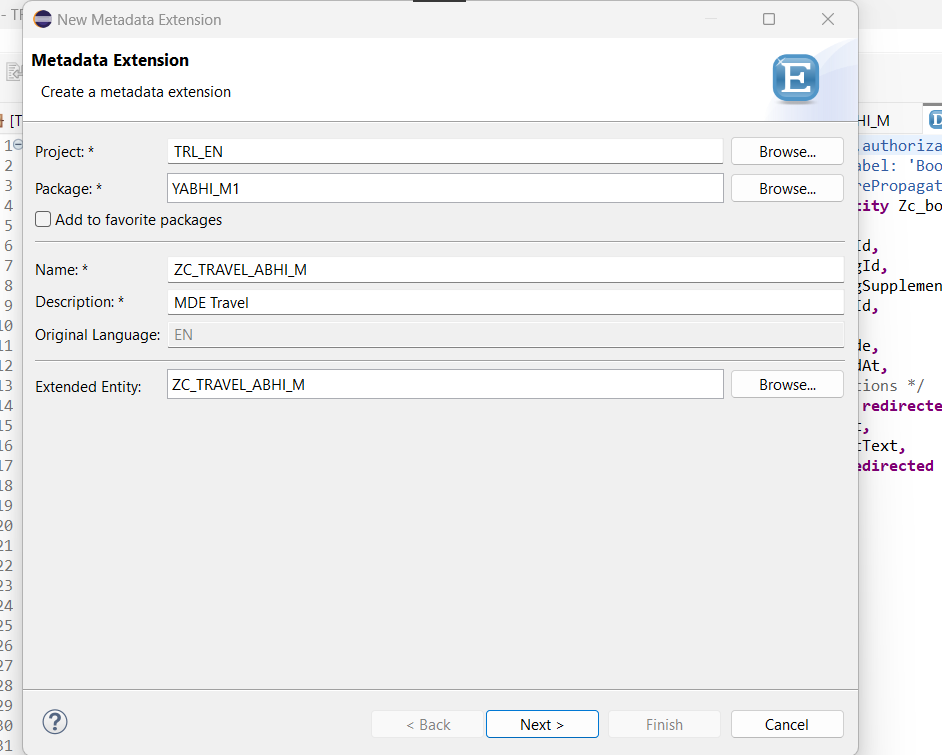
Give name, details, TR and click next.
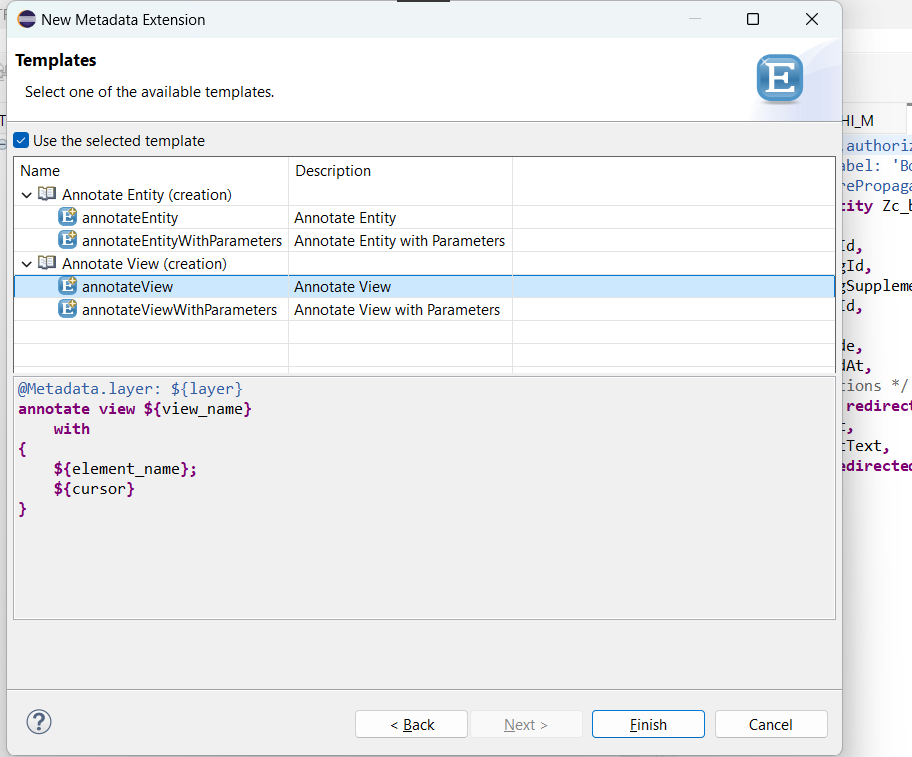
Select annotate view and finish.
Now we will provide the layer as Core for our MDE as this is a custom application and insert all elements which we want to annotate UIs.
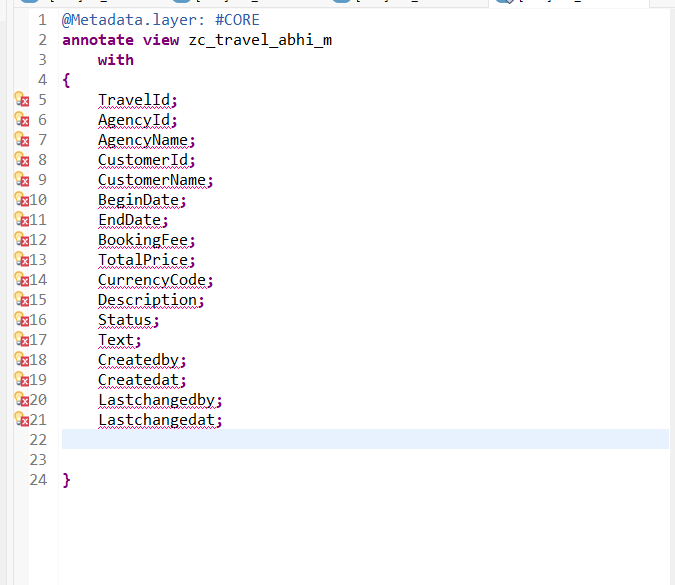
As I don’t want Associations those are removed.
But before doing any changes here let us create our service definition and binding so that we can preview our changes in frontend.
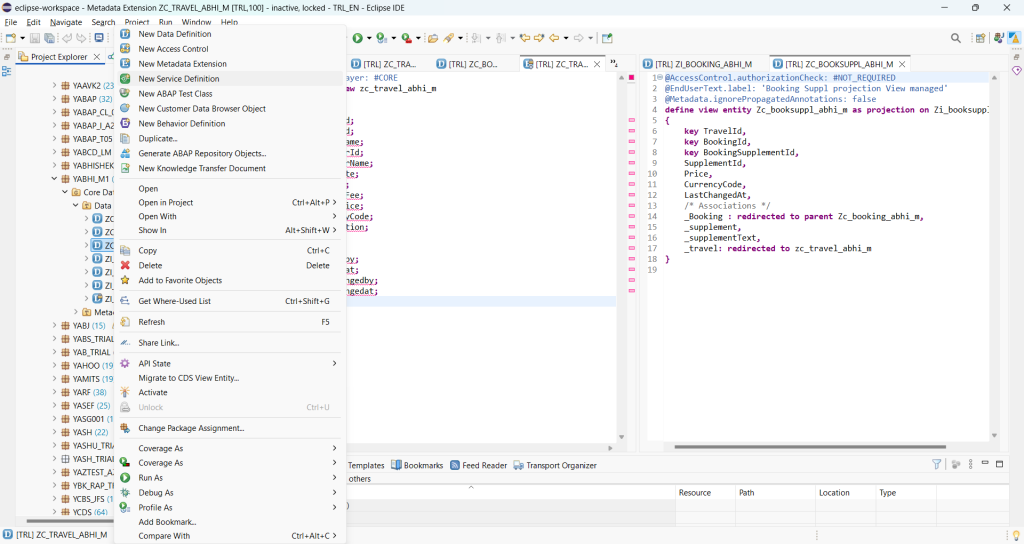
Right click on our root projection view and select new service definition.
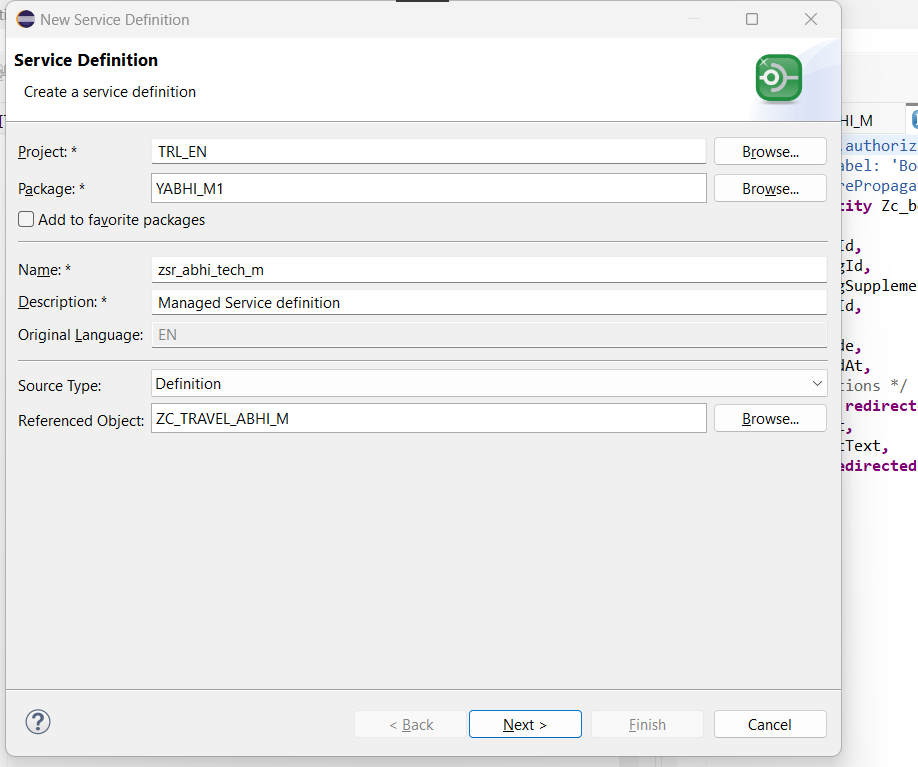
Provide details click next and finish.
Expose other entities also.
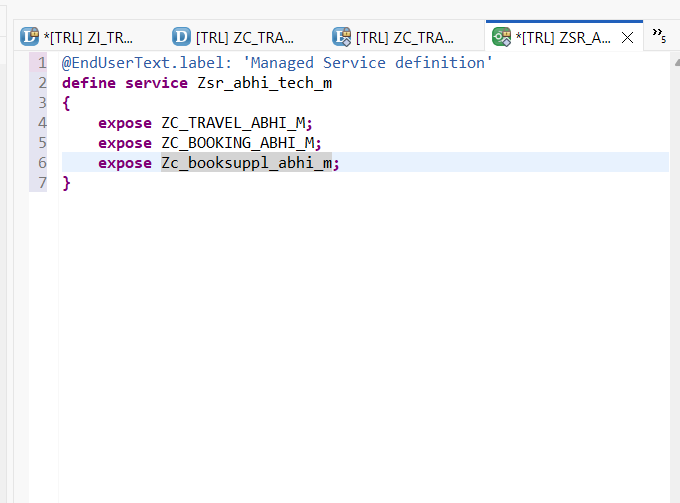
Activate and let us create service binding.
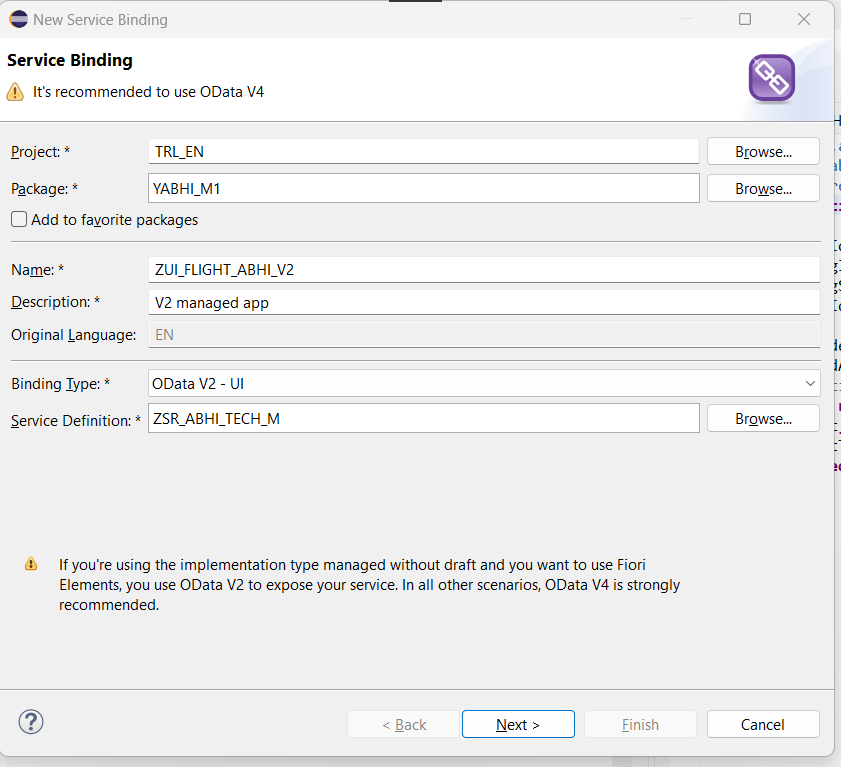
Right click on service name and select New Service binding.
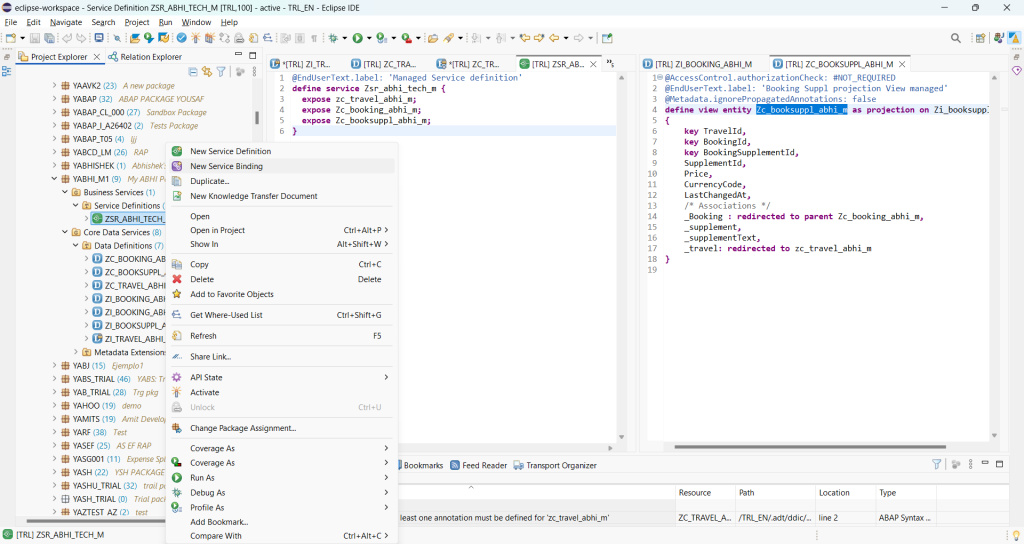
Give details and click Next and Finish.
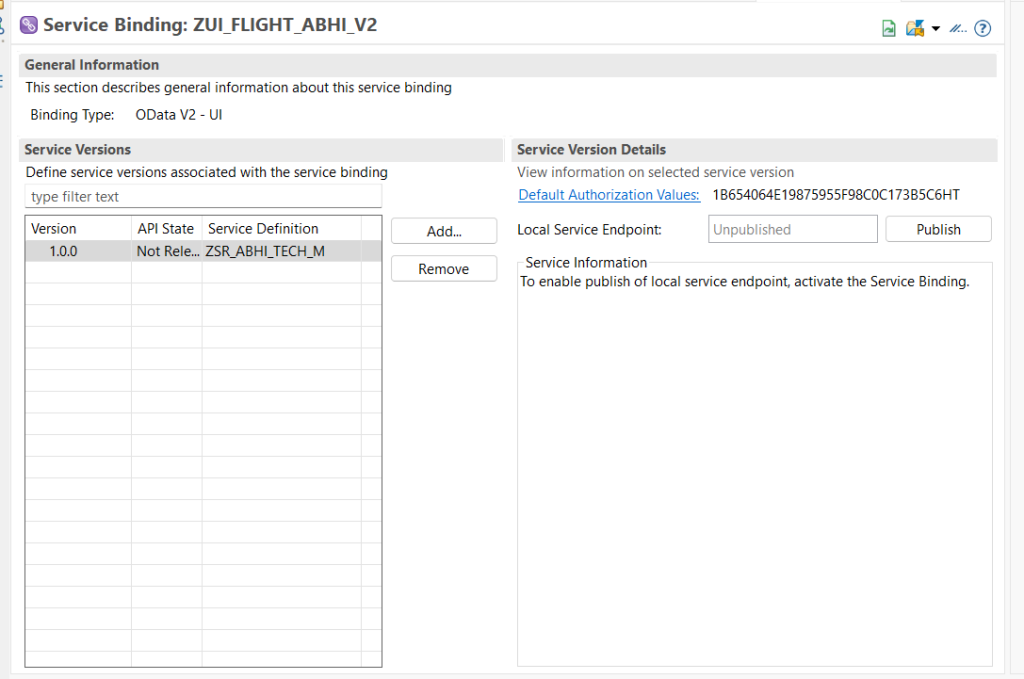
Activate and publish the Service binding.
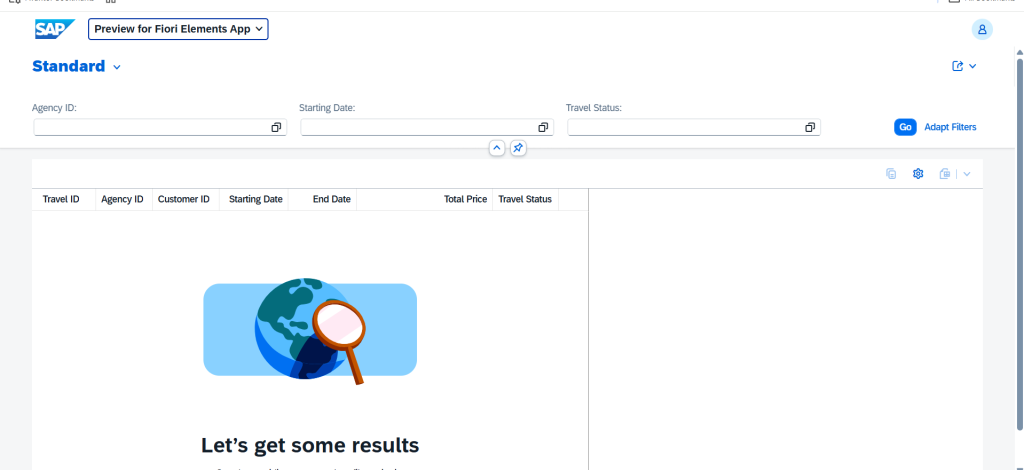
Click on preview to get a view of the application.
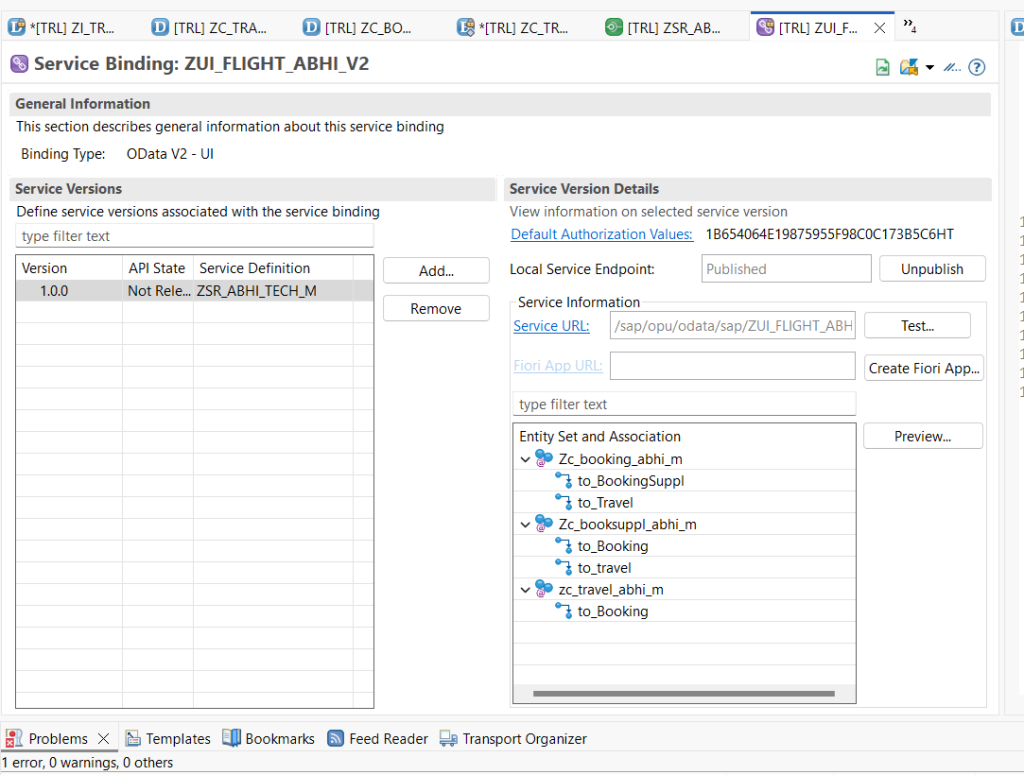
Select all columns in preview.
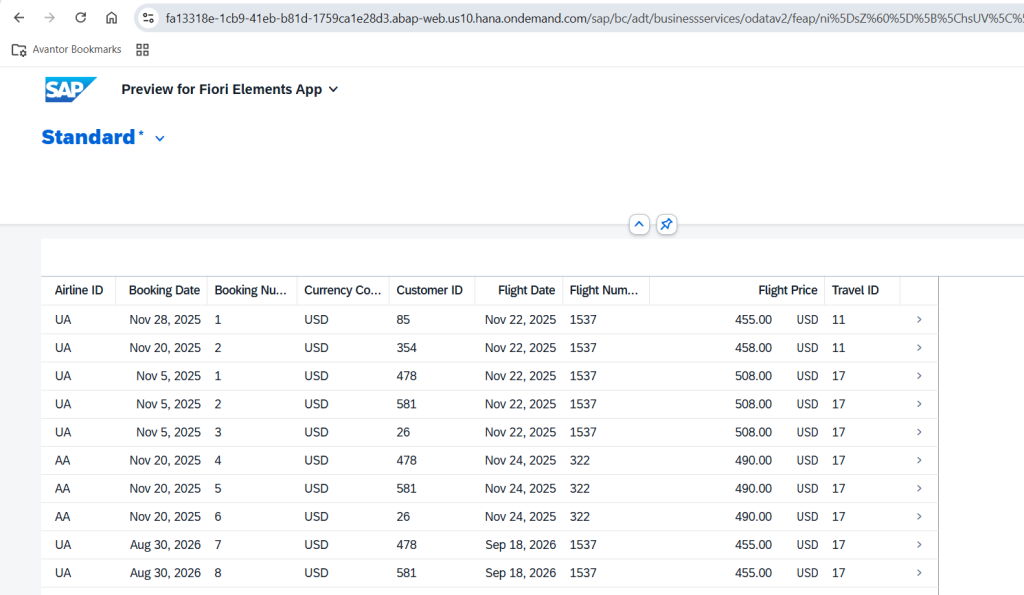
So it is right now a basic application similar to our read only application.
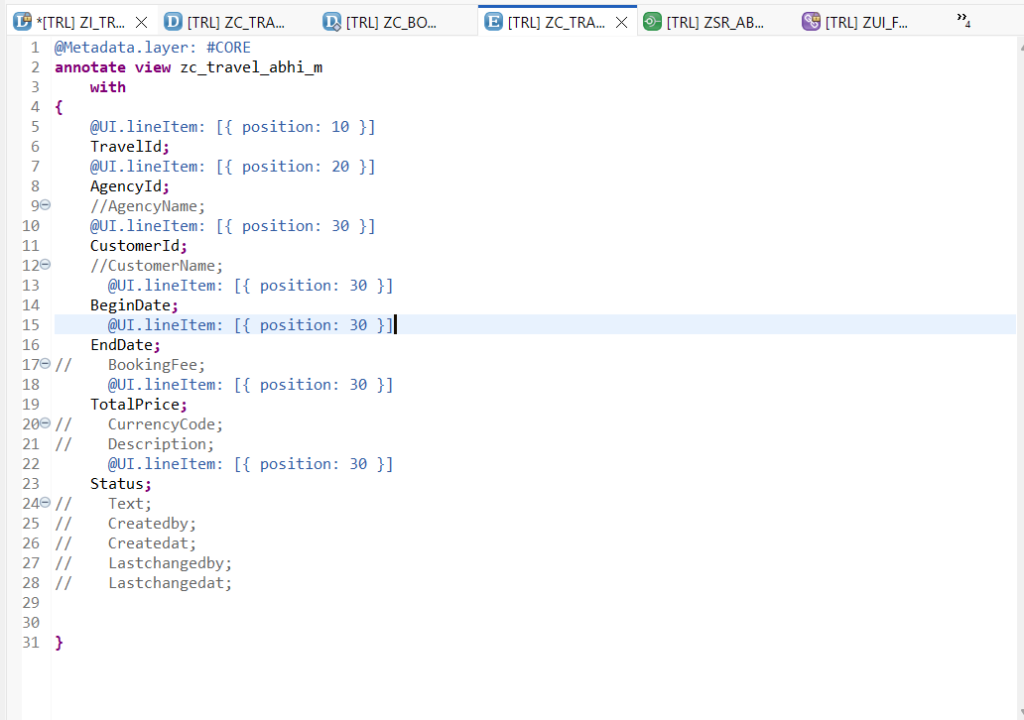
Now let us go to our MDE and start adding annotations one by one. Let us start with what we to display in the main page of our application by using lineitem annotation.
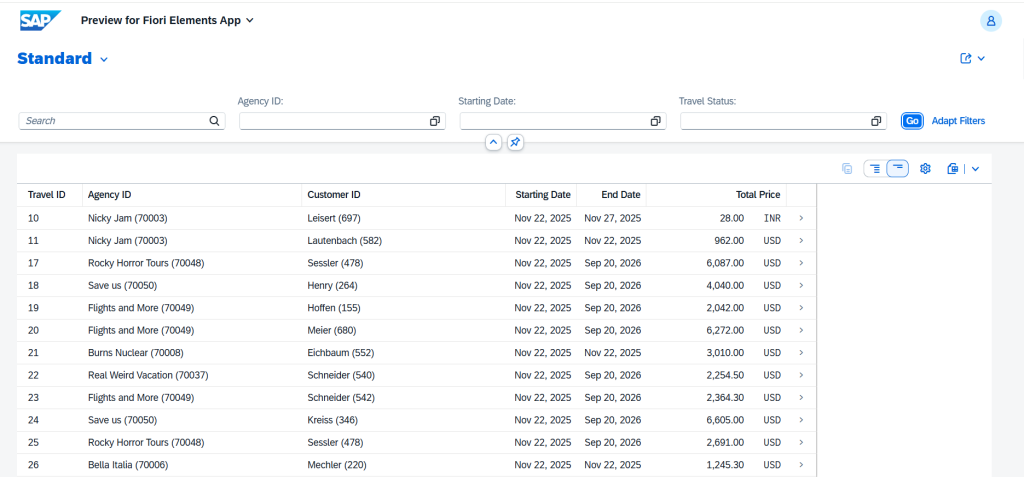
Activate and refresh application.
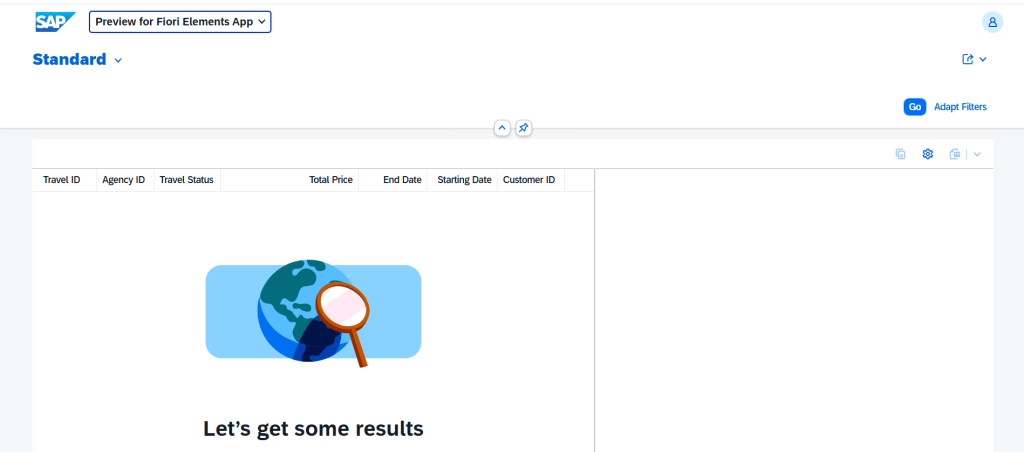
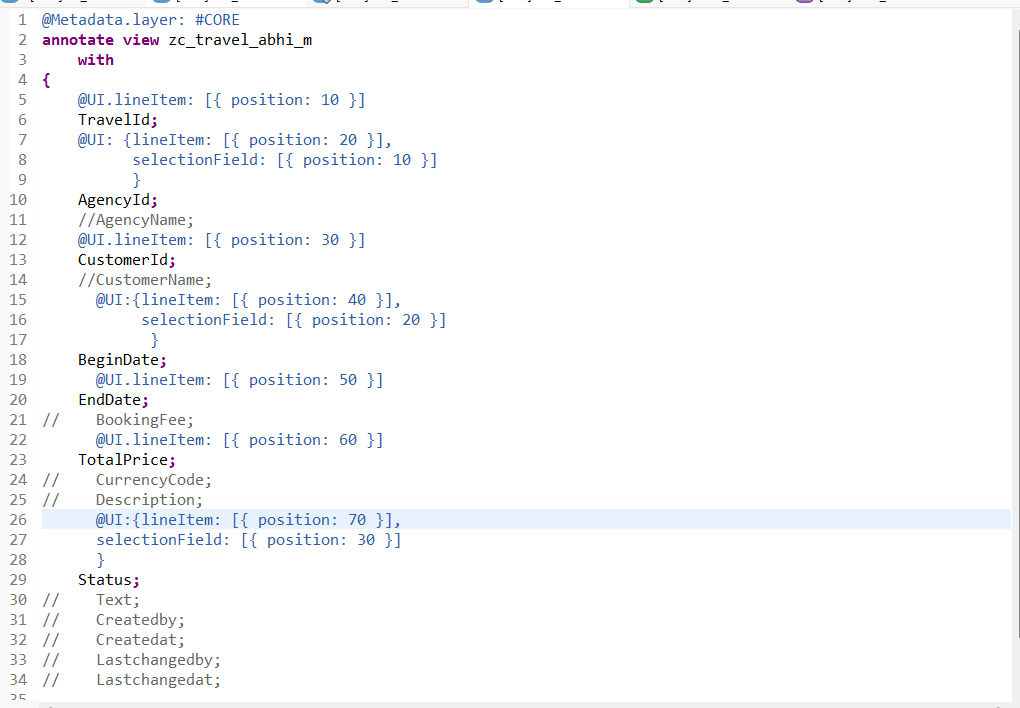
Now let us add selection fields same as we did using @ui.selectionfield annotation in our read only application.
Activate and refresh application.
Selection fields now visible.
Now we will also add a search field.
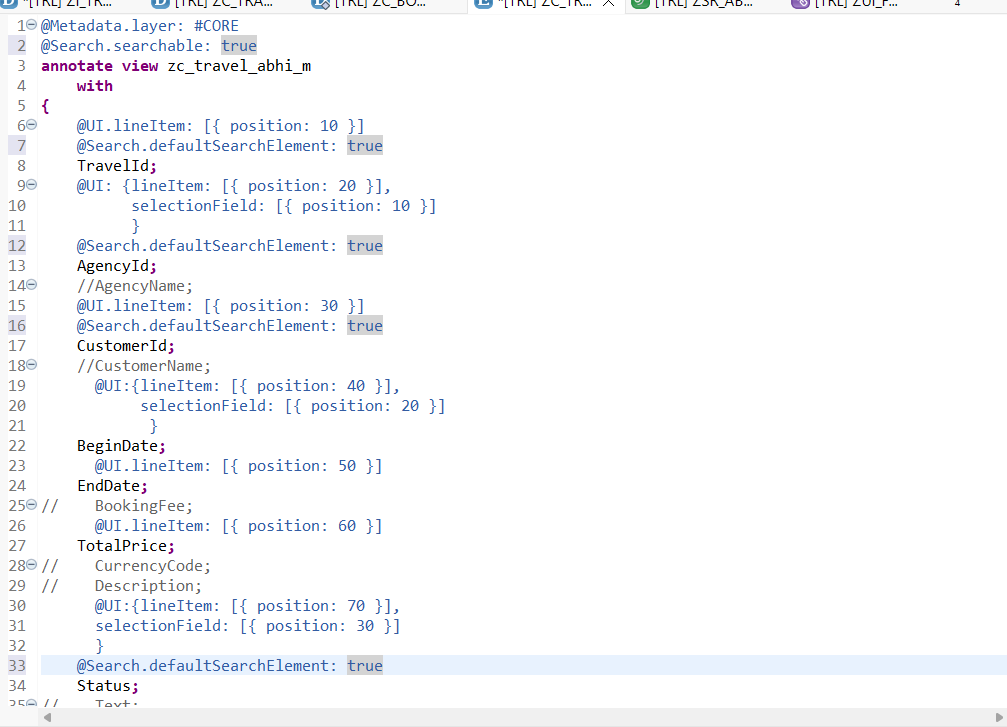
Now I want to display Agency Name and ID together for which we used object model annotation in our read only application but since this is an ABAP level annotation let is give it in our projection view.
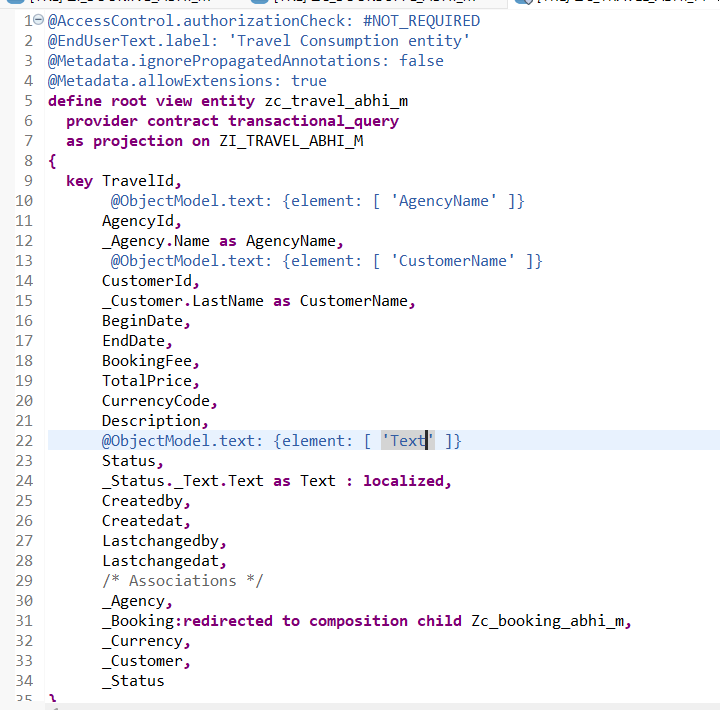
Activate and refresh application. Please note only UI annotations are permitted in MDEs.
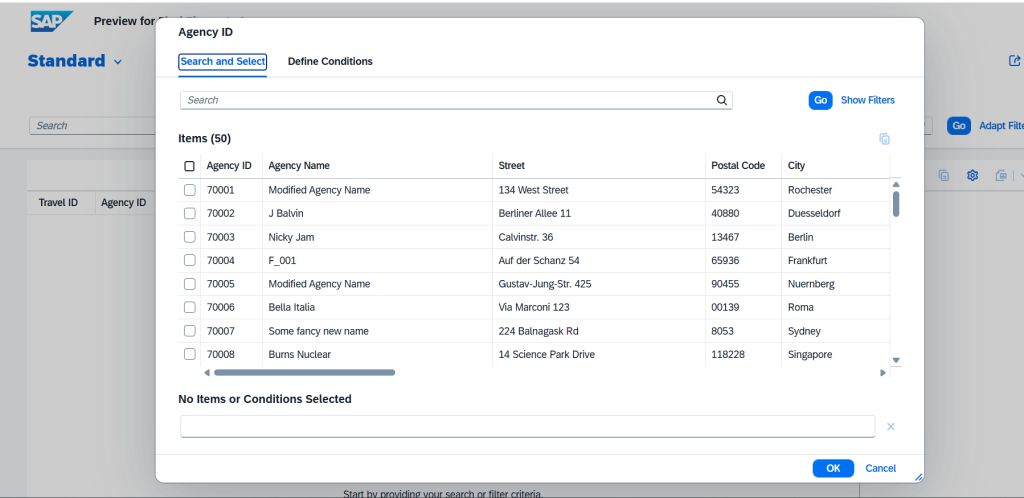
Now we will add the value help also for selection fields using @Consumption in our MDE.
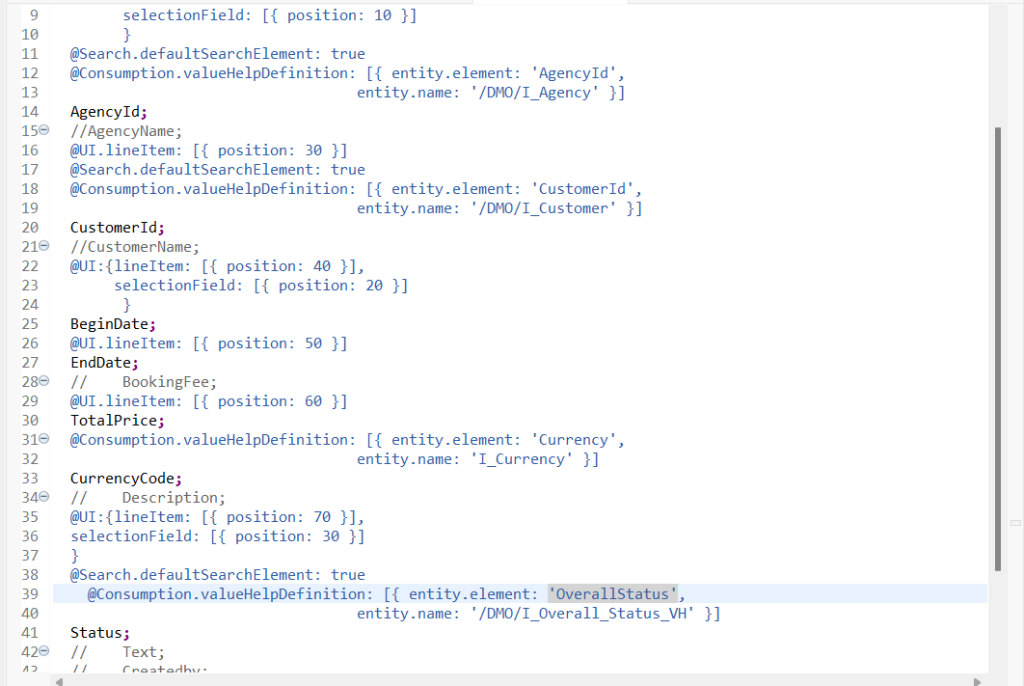
Preview and check for F4 help.
Now we will give identification reference annotation.
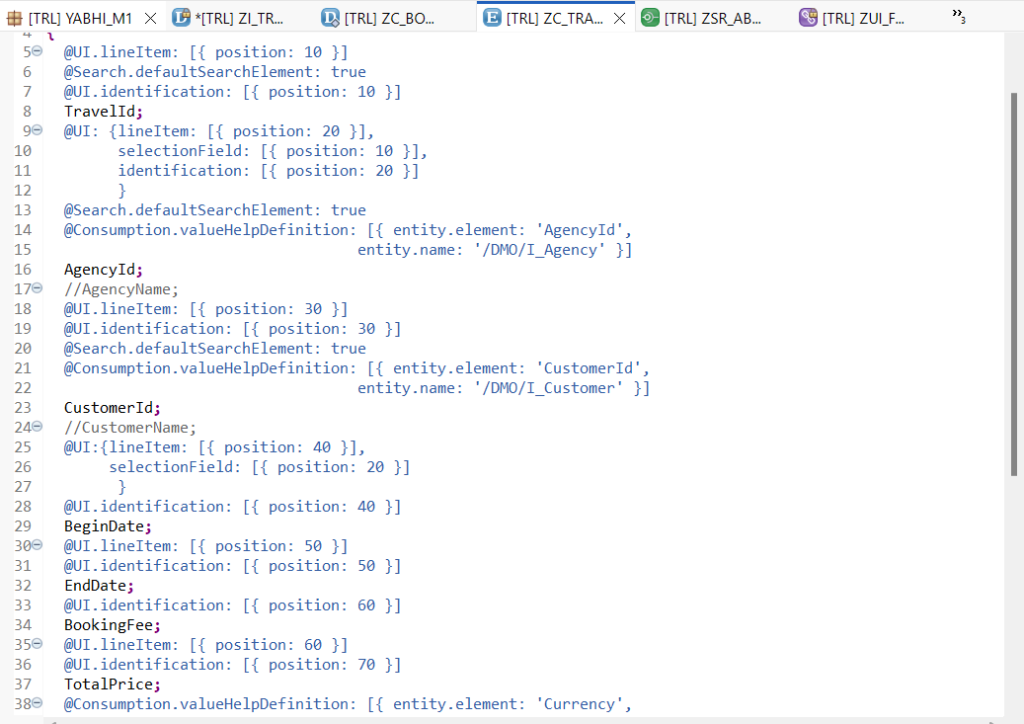
Let us add a facet also along with Header Info.
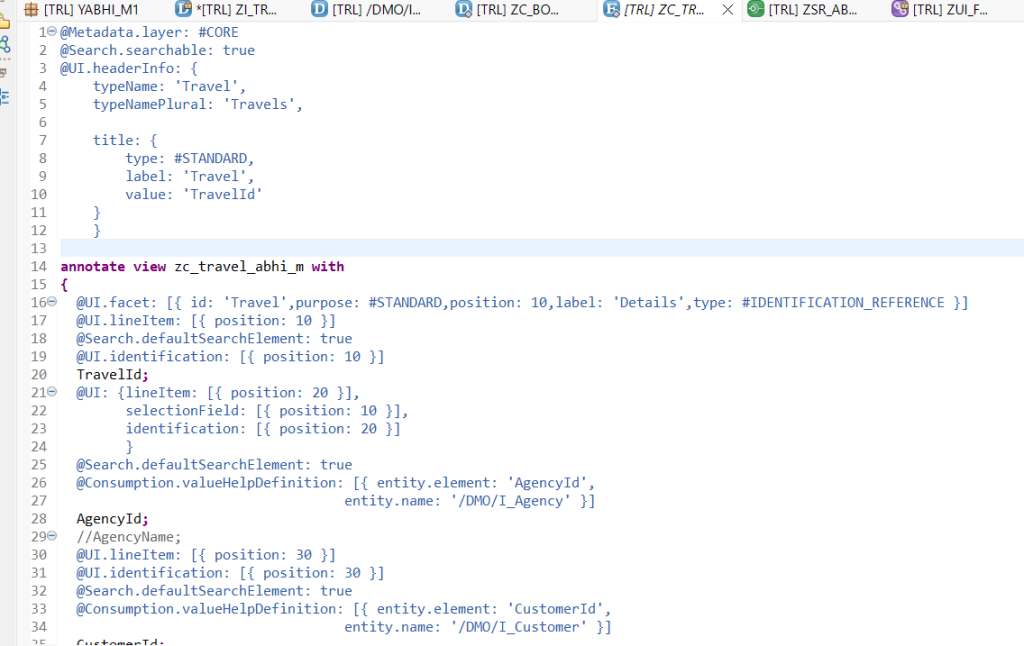
Activate and refresh and go to object page.
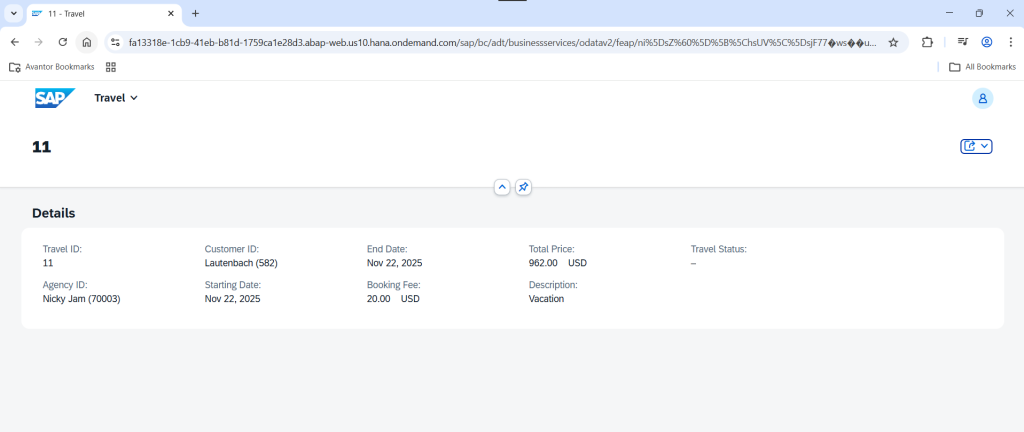
Stay tuned for next blog where will proceed on the same application.